Custom fields store information that is specific to your organization and is not covered by the standard contact fields. For example, you might add Account Manager, Customer Tier, or Renewal Date.
Open Kelune CRM → Settings → Custom Fields.
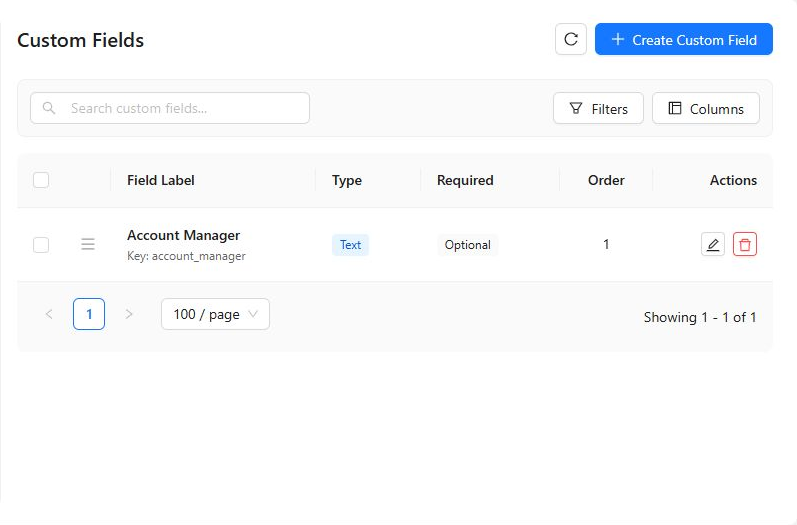
Create a custom field
- Select Create Custom Field.
- Choose a Field Type.
- Enter the user-facing Field Label.
- Review the generated Field Key.
- Configure any options for the selected field type.
- Add a Default Value when appropriate.
- Enable Required Field only when every contact must have a value.
- Save the field.
Choose the correct field type
| Field type | Best for |
|---|---|
| Single Line Text | Short free-text values |
| Multi-line Text | Longer notes or descriptions |
| Number | Numeric values that may need minimum, maximum, or step rules |
| Email, URL, Phone | Values that benefit from a purpose-specific input |
| Select (Dropdown) | One choice from a defined set |
| Radio Buttons | One visible choice from a short set |
| Checkboxes | One or more choices from a defined set |
| Date | A calendar date |
| Date and Time | A date with a specific time |
Choice fields require at least one option. Depending on the field type, you can also configure a placeholder, help text, maximum length, or numeric limits.
Use custom fields on contacts
After creation, the field appears in the custom-fields section of the contact form. Enter or update its value when creating or editing a contact.
Custom fields are also available as destinations when mapping columns during a contact import.
Edit, order, or delete fields
Use the Custom Fields table to filter by type or required status, change the display order, edit field settings, or delete a field that is no longer needed.