Kelune CRM can send through WordPress or through a dedicated email provider. A provider connection gives campaigns and automations an explicit delivery service and sender identity.
Open Kelune CRM → Settings → Email Providers.
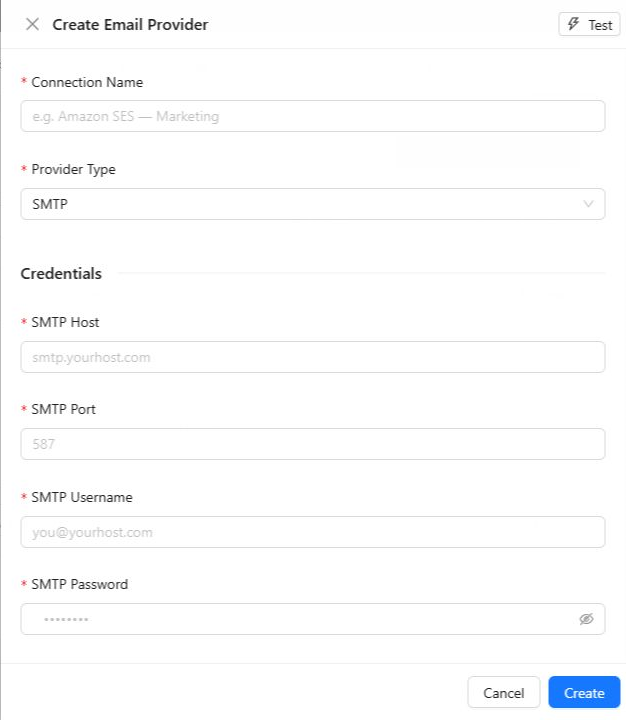
Add a provider
- Select Add Email Provider.
- Enter a clear Connection Name so your team can identify it later.
- Choose the Provider Type: SMTP, Amazon SES, Mailgun, or SendGrid.
- Complete the connection fields for that provider.
- Enter the Sender Email, Sender Name, and optional Reply-To address.
- Review the sender and connection options.
- Save the connection, test it, and make it active when the test succeeds.
Enter the connection details
| Provider | Required connection details |
|---|---|
| SMTP | Host, port, username, password, and encryption |
| Amazon SES | Access key ID, secret access key, and AWS region |
| Mailgun | API key, sending domain, and region |
| SendGrid | API key |
For Amazon SES, Mailgun, and SendGrid, use a sender address or domain that has already been verified with the provider. The provider may reject mail from an unverified identity even when the connection credentials are correct.
Choose the sender options
- Default sender makes this the first provider offered when a campaign or automation uses an email-provider connection. Your first provider is set as the default automatically.
- Force sender name keeps the configured sender name instead of allowing content to replace it.
- Force From email keeps the configured sender address.
- Set Return-Path routes delivery failures to the sender address when supported.
- Auto TLS lets an SMTP connection use TLS automatically when the server supports it.
- Active makes the connection available for sending.
The connection details can also show provider limits and valid sender addresses. Keep those limits in mind when planning a large campaign.
Test and use the connection
Run the connection test before using the provider with contacts. If it fails, check the credentials, port, encryption, region, verified sender, and any firewall or provider restrictions.
When creating a campaign or configuring a Send Email automation action, choose Email Provider, select the saved connection, and use one of its valid sender addresses.