The Kelune CRM setup wizard opens immediately after you activate the plugin. It guides you through the essential information and contact organization needed to start using your CRM.
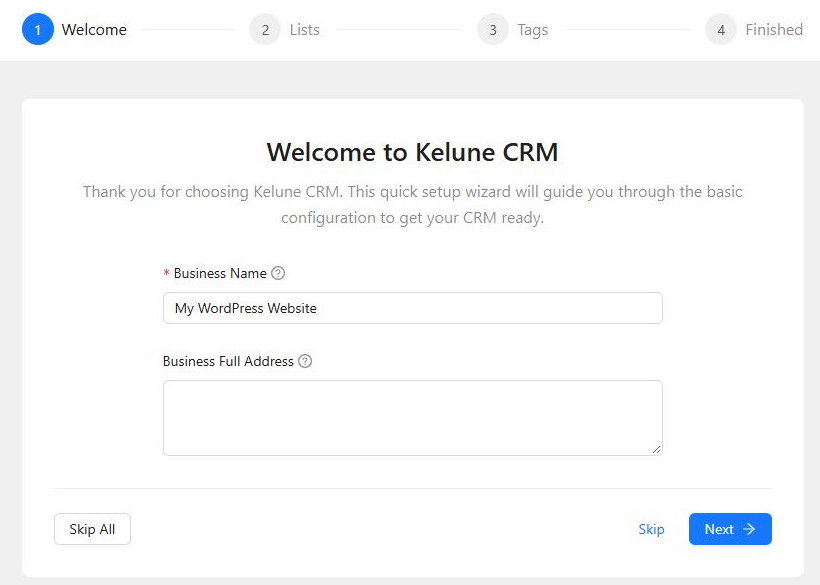
Step 1: Add your business details
Enter the information that identifies your organization:
- Business Name — required. Kelune CRM can display it in email footers and on public subscription pages.
- Business Full Address — your postal address. You can insert it into emails with the
{{business_address}}merge tag.
Select Next to save the details and continue. Select Skip to continue without saving this step, or Skip All to leave the wizard.
Step 2: Create contact lists
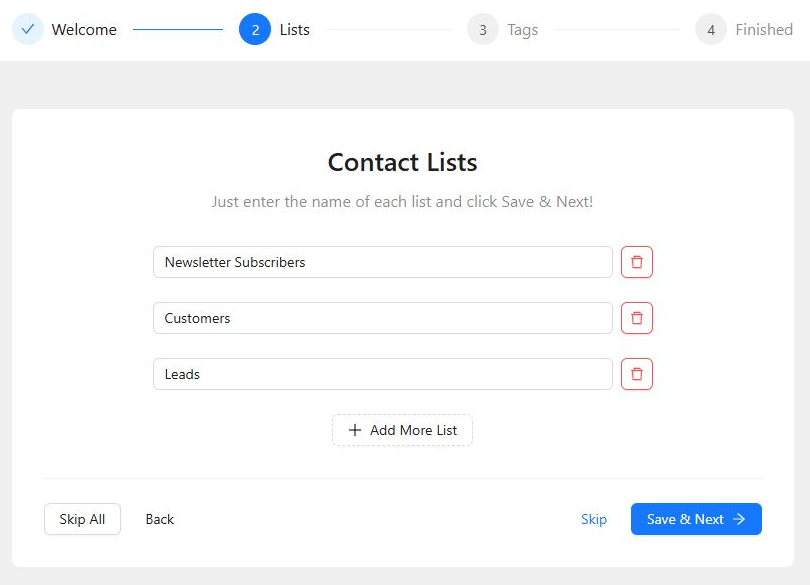
Lists help you organize contacts by audience or purpose—for example, Newsletter Subscribers, Customers, or Leads.
- Enter one list name in each field.
- Select Add More List if you need another row.
- Select Save & Next.
You can use the delete icon to remove an existing list or the minus icon to remove an unsaved row.
Step 3: Create contact tags
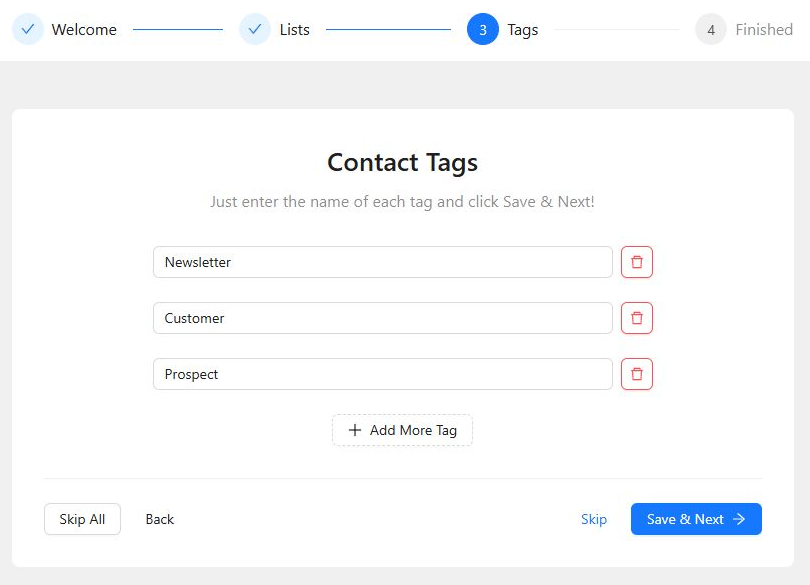
Tags add flexible labels to contacts. They are useful for interests, lifecycle stages, sources, and other details that may overlap between lists.
- Enter starter tags such as Newsletter, Customer, or Prospect.
- Select Add More Tag when you need another row.
- Select Save & Next.
Step 4: Finish the setup
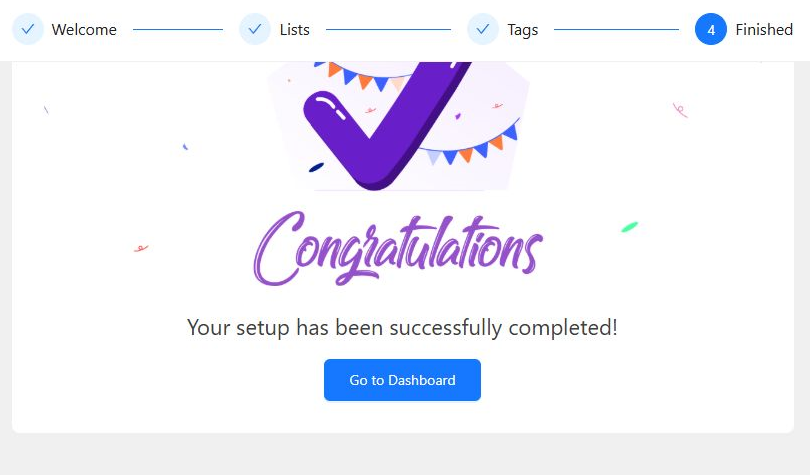
When the completion screen appears, select Go to Dashboard. Kelune CRM records the wizard as complete and opens your main dashboard.
Skip or change the setup later
- Skip moves past the current step.
- Skip All closes the wizard and marks the initial setup as finished.
- Business details can be changed later under Kelune CRM → Settings → General.
- Lists and tags can be managed later from the Contacts section.